You will need:
- a small quantity of knitting yarn - 3 or 4 ply preferably
- a small quantity of polyester wadding
- a paper craft straw
- pair of 2.25 (old size 13) knitting needles
- usual scissors and large eyed sewing needle.
Method
- Begin by casting on 4 stitches
- Row 1 - Knit twice into each stitch to end (8 stitches)
- Row 2 - Purl 1, purl twice into next stitch, to end (12 stitches)
- Row 3 - Knit twice into each stitch to end (24 stitches)
- Row 4 - purl
- Row 5 - knit.
- Row 6 - purl.
- Row 7 - knit.
- Row 8 - purl.
- Row 9 - knit 2 together to end ( 12 stitches).
- Row10 - purl 1 purl 2 together to end (8 stitches).
- Row 11 - knit 2 together to end ( 4 stitches).

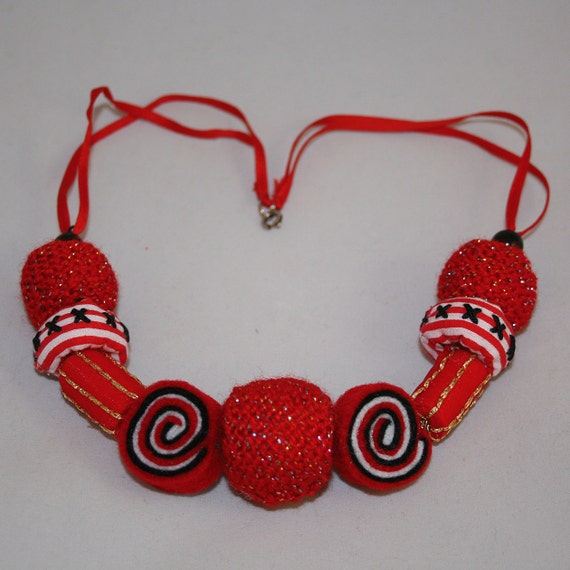
Break yarn leaving about 6 inches attached. Using a needle thread the yarn end through the four stitches on the knitting needle and remove from the knitting needle. I have chosen to use the beads as reverse stocking stitch (knit rows showing). Turn the knitting so that the 'knit' rows are downwards. Place a small quantity of polyester wadding into the 'bead'. Lay a craft straw across the bead on top of the wadding.
Stitch about half way up the side of the bead, using the attached yarn. Using the point of your scissors, or similar, carefully push in more wadding on top of the straw, taking care to create a spherical shape. Stitch until almost closed. Push in a little extra wadding if necessary and end off the yarn.
Stitch both yarn ends back through the bead to hide them - taking care not to stitch through the straw. Cut off close to the bead. Push the bead to one of the craft straw. Slightly compress the bead towards the end of the straw, taking care not to let the bead slip off the straw. Trim the straw close to the bead. When the bead is released and expands the straw should not be visible but will provide a chanel for threading the bead without risk of dragging the stuffing out.
Admire your work and choose the yarn for your next bead. Have fun!
----o0o----


