This post will end with the first 'how to' of a series ( please scroll down if that's your main interest ), but, before I get to that:
Why am I making textile beads?
The absolutely honest answer is that I enjoy stitching them and I like the results of my work.
In an attempt to justify the time I have spent this week there are some other factors:
- Lynwoodcrafts' brooches continue to be my best sellers. I had a very limited selection of other jewellery items.
- I have a huge collection of all the yarns, thread, fabrics I might expect to need - the possibilities for shape/colour etc are endless.
- Small beads lend themselves to the use of re-purposed fabric, this will always be mentioned in the listing where used. I am committed to the recycling of all textiles used in my household - one way or another!
- My customers tell me that they buy from me for one of two reasons. The item will be a gift ( I hope a wider range of jewellery might appeal to gift shoppers), or else the purchaser is treating herself (most of my customers are female) to an unusual item she won't find elsewhere.
There are many, many jewellery sellers on all the main craft selling sites. I hope my unique items will have an appeal which will set them apart. I shall, of course, continue to make and offer for sale Lynwoodcrafts' range of other embroidered accessories - purses, pincushions, notebooks, bookmarks etc. - when I can tear myself away from these beads!
There are many, many jewellery sellers on all the main craft selling sites. I hope my unique items will have an appeal which will set them apart. I shall, of course, continue to make and offer for sale Lynwoodcrafts' range of other embroidered accessories - purses, pincushions, notebooks, bookmarks etc. - when I can tear myself away from these beads!
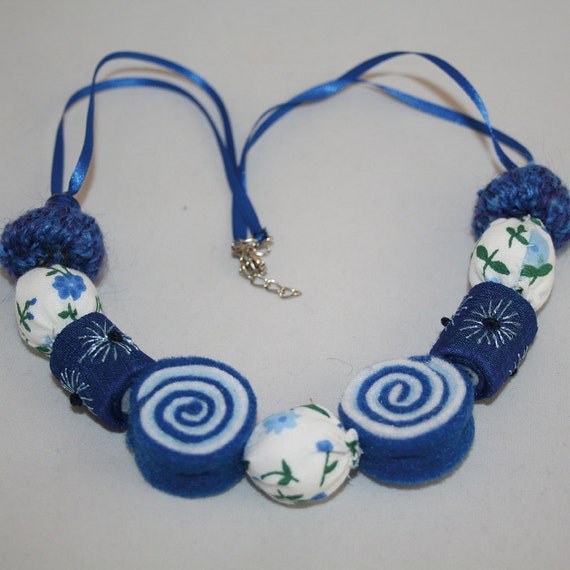
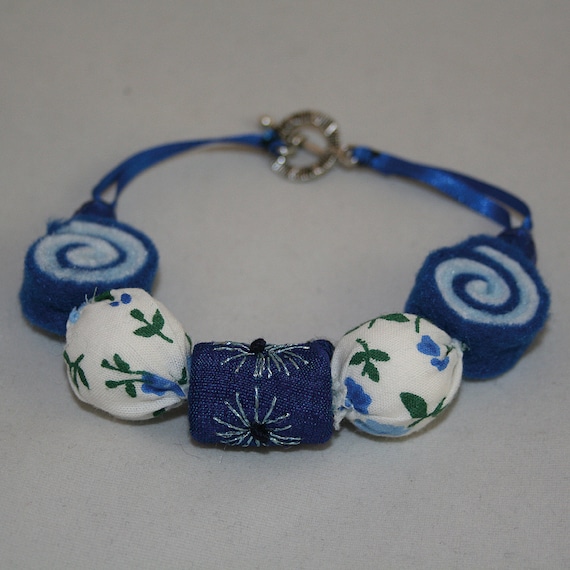
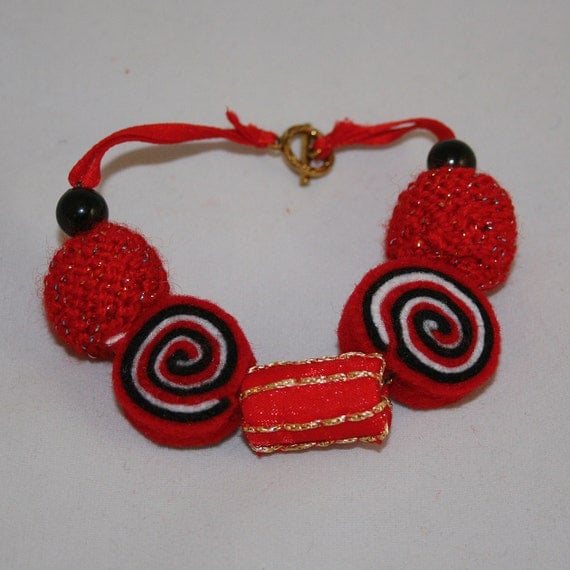
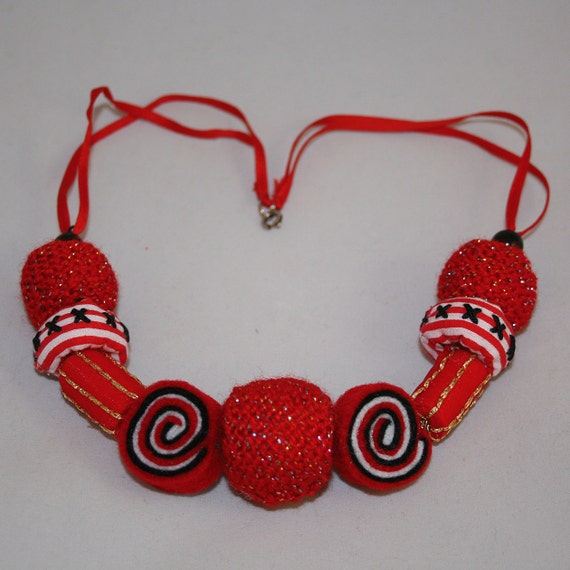
These are the items which I have listed so far:


No comments:
Post a Comment